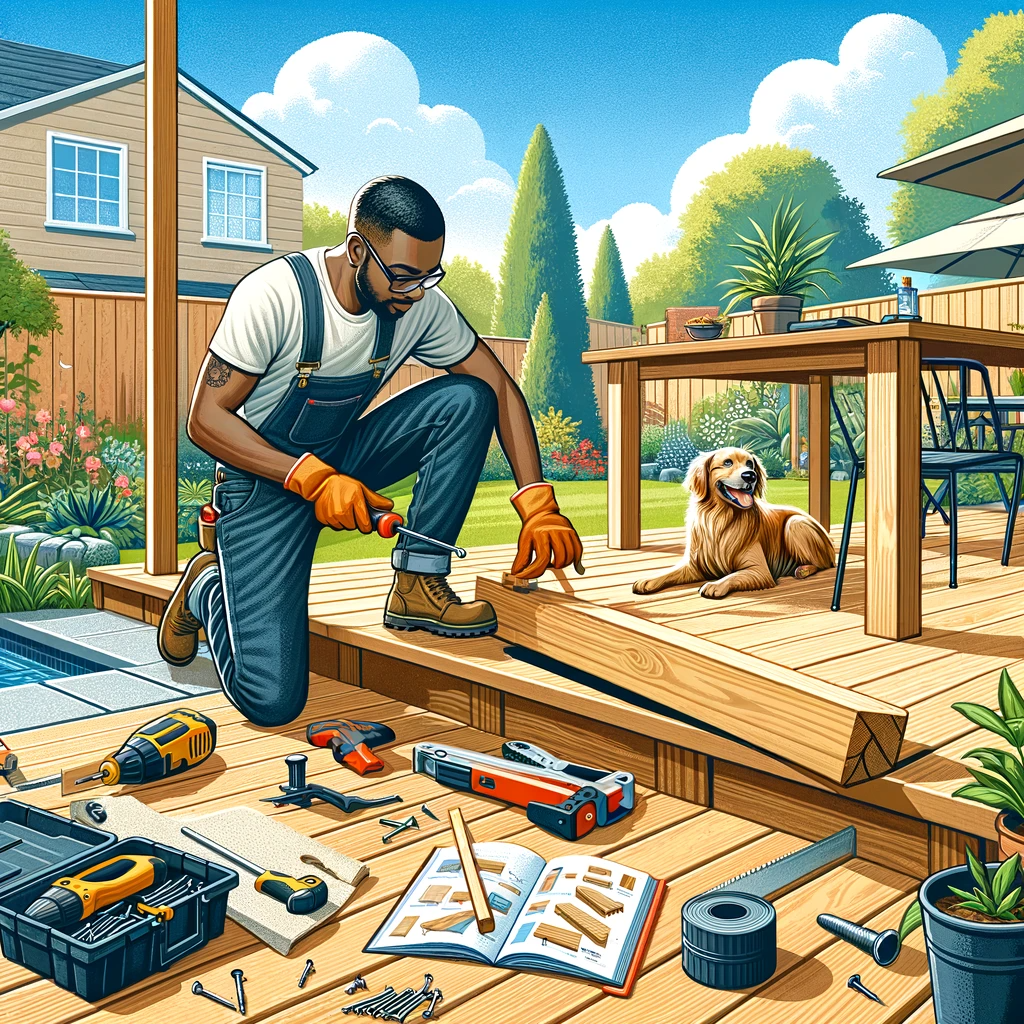
Deck Repair DIY: Revive Your Outdoor Oasis in a Weekend
Deck Repair: Your deck: once the proud stage for barbecues, family gatherings, and quiet afternoons soaking up the sun, now a splintered, faded reminder of better days. But despair not, DIY enthusiast! You’re about to embark on a restoration journey that will turn your deck from a safety hazard to the envy of the neighborhood, all in a single weekend.

Assessment and Planning
Before diving into repairs, a thorough assessment is crucial. Check for any loose boards, rotting wood, or unstable railings. Make a list of supplies you’ll need based on your assessment, considering the size of your deck and the extent of the damage.
Materials You’ll Need:
- Replacement boards
- Screws and nails
- Sandpaper (various grits)
- Wood filler
- Stain or sealant
- Paint (if desired)
- Tools (screwdriver, hammer, sander, paintbrush, etc.)
Step 1: Cleaning
Start by giving your deck a good cleaning. Sweep off any debris and use a deck cleaner to remove dirt and grime. This step ensures that you have a clean slate for repairs and also allows you to spot any hidden issues.
Step 2: Repairing Wood
Replace any damaged or rotting boards. Make sure to measure twice and cut once. Use galvanized screws or nails to secure the new wood, ensuring they are flush with the board to prevent any tripping hazards.
Step 3: Sanding
Once repairs are made, sand down the entire deck. Start with a coarse grit and work your way up to a finer grit for a smooth finish. Pay special attention to areas where the new wood meets the old to blend them seamlessly.
Step 4: Staining and Sealing
Choose a stain or sealant that not only looks good but provides protection from the elements. Apply according to the manufacturer’s instructions, working in sections, and use even strokes to avoid streaking.
Step 5: Final Touches
Re-attach or tighten any loose railings and give the entire deck a final inspection. Make any small adjustments as needed, and consider adding some personal touches like outdoor lights or new furniture.
Conclusion
Congratulations, your deck is now back to being a safe, stylish, and enjoyable space. Regular maintenance will keep it looking great and ensure it can continue to host your outdoor activities for years to come.
Remember, your deck isn’t just a structure; it’s a backdrop for memories. With the money you’ve saved and the satisfaction of a job well done, your revitalized deck will serve as a testament to your DIY skills and the power of a weekend well spent.